Category Archives: Driveby Gangster

Why most indie games are 2D games.

Why Most Indie Games are 2D Games

Okay so do you want to know why most indie games are in 2D?  Read the posts from the last month or so in my blog.  In summary, you’ll notice that 90% of all that work was asset creation.  Keeping in mind, this is supposed to be a small-scale single-level 3D mini game.  Artwork, modeling, texturing, more artwork, more texturing, more modeling.. etc.  Simply stated, asset creation for 3D games is LONG, HARD work.. and in my case, I didn’t even do it all myself (I had a character modeler/animator help me with my single base character model, and I’ve relied quite a few times on turbosquid).  Even still, compared to 2D game development, this process can be extremely time consuming.  If this was a 2D platformer, most devs would have had at least basic assets for a “level 1″ finished probably in the first day, and would have been programming the actual game long before now.  I’ve always tried to ignore this fact but its true.  Look at the number of delays, setbacks, and ultimate release date shifts that have plagued recent AAA game projects project and you’ll see that rapid 3D game development is not an easy task even for seasoned developers.

Most independent game developers have certain skillsets that usually fall into the domains of programmer or artist.  Now I know there’s stortywriting, sound effects, music, etc.  But just about everything involved in a game’s development really splits into the two big umbrellas of either programming or creative (artwork, asset creation, etc).  The problem here is that as one advances in their particular domain, and starts to get really good at one aspect of the field, they often have to leave the other side of things to somewhat wither.  To become a really good programmer, I mean a really good programmer, you need to get obsessed with your craft.  That means even if you were a decent artist, you probably won’t keep up your artistry skillset as much.  The same goes for becoming a very good artist, and even a 3D artist.

As the industry has made the shift into large-scale theatric AAA games, more and more specialized craftsmen/craftswomen are needed to spend 8-hour days on something as simple as the texture of a claw of a single enemy in a single dungeon of a game.  The sheer manpower that AAA studios can throw at a game allows for the large attention to detail that 3D games require to feel right.  Even a “simple” game like mario 64 likely required dozens of artists to pan and pan over every keyframe of mario’s animations to make sure it was perfect.  Now don’t get me wrong, this was also true of the SNES/Genesis 2D era.  However, attention-to-detail, or lack thereof in these kind of games comes with less of a penalty, and certainly less of a time commitment.

It’s a hard pill to swallow since my dream of making games that started at a young age, has always predominantly been a dream of 3D game development.  But you know what?  I still love 3D game development.  It’s supposed to be hard.  The hard… is what makes it great.  Tom Hanks is right.  

So where does that leave the indie developer with respect to 3D game development?  Well when you have a team of only 2-3 people (or in my case, 1 people), you CAN succeed at independent 3D game development.  The absolutely crucial difference here is to understand and accept your limitations as an independent.  For starters, no matter who you are, limit your freaking scope.  Understand that you simply can’t make an AAA-length 3D game in any reasonable amount of time.  If you’re 1 person, and a hobbyist with almost zero budget (like me), set a goal for a game that requires at most 1-2 3D environments with very few (if any) unique character models.  If you are weak with art but you have the funds, consider using services like turbosquid to procure assets.  If you are weak with 3D programming, consider (after buying a few books) using a 3D engine such as unity or unreal instead of building your own.  

Above all, plan out the scope of your game to a t.  Then, give yourself a pre-determined amount of time to finish the game project… and..   quadruple it.

Driveby Gangster Update – a Dive Into Swift

Over one month in to my planned “2 week” 3D game project, 90% of my assets are done!  I still need a 3D tommy gun and an old-timey driveby gangster car.  But I’m going to start actually programming (imagine that) the very simple AI that will drive the walking of most of the bystanders in the game.  I’ve got my work cut out for me since most of the game logic code I’ve written to this point is all throwaway “get-it-to-work” POC code.  I now need to organize and get a basic heirarchical game-architecture together.  More fun, as I mentioned in my first post, I’ll be doing most of the game classes and logic in swift.  Swift, despite being officially released, still has its problems.  Namely for me, the speed of the IDE (for things like auto-completion) while typing in swift is the biggest gripe I have with the language so far.  That problem is followed by a close-second of annoying cryptic compiler errors that have nothing to do with the underlying problem of “I’m expecting an Int32, but you gave me an Int”.  Either way, I’m keeping my promise to write the game in swift as an experiment to see if the language is truly something I’ll want to leverage for game development in the future.
Things…

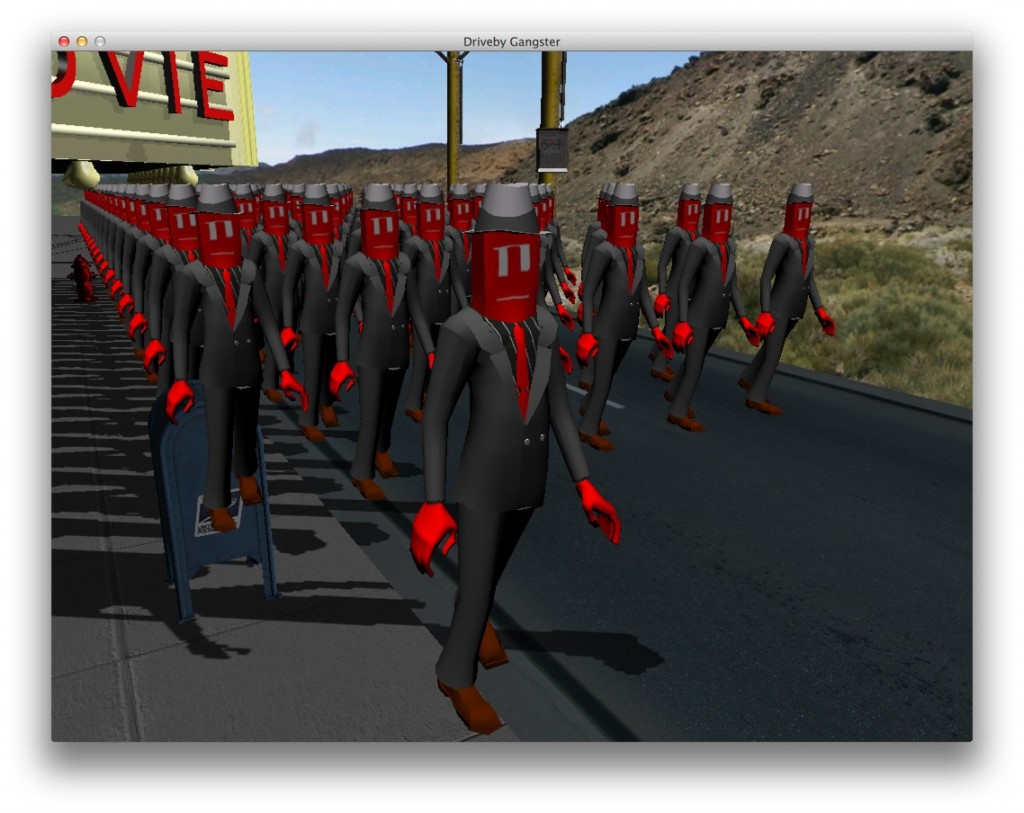
Despite the activity on this blog, I’ve actually been quite hard at work on this game.  The last few days have been filled with quite a bit of shadow mapping optimization which has proven to be much more complicated than I originally thought.  Shadows are probably a good chunk of the reason why most people go with pre-built game engines instead of developing their own, but I finally got shadows working reasonably well!

I’ve also spent quite a few days trying to get the frame rate up for the actual game by optimizing the rendering engine.  I’ve made some small strides here but honestly the main cost in terms of performance seems to be the grand total accumulation of just “alot of OpenGL api usage” to draw roughly 250 separate objects in the scene.  When I turn off the root call (entity render) for the entire scene, the framerate goes sky-high, but when I comment out smaller parts or optimize entire sections of code such as my prepare to draw methods (setting up uniform state), I get very small gains.  This leads me to throw up my hands and say “screw it” at least for awhile.  I get roughly 60 fps when close to buildings (thanks to occlusion queries) and about 30 when viewing the whole street on my Geforce 650 m card.  That’s going to have to be good enough for what should remain a small game project.  I really don’t want to get sucked into too much more low-level OpenGL optimization for this project.  Surprisingly, my older laptop from 2009 gets 20 fps (still pretty decent) and the iPad Air gets a very decent rendering performance too.  Perplexing… but I’m all-around  pleased so I’m moving on from performance optimization for now…

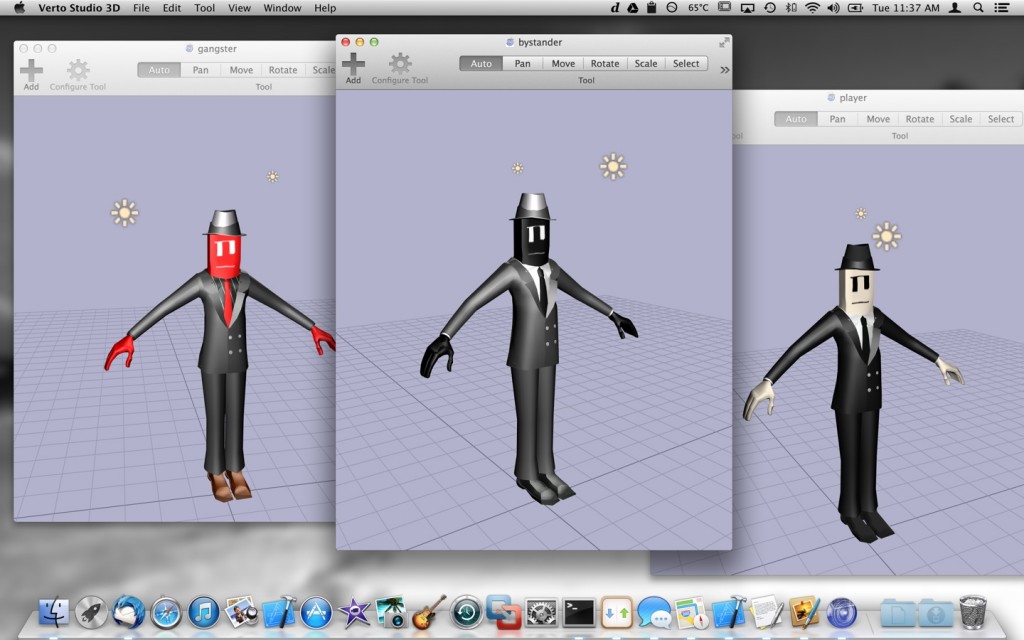
After all this craziness, my next step is to finally start texturing the character model and making sure he still animates properly when textured.  My character artist wasn’t able to texture the model so now this falls onto me.  This hopefully shouldn’t be too bad.  I’m planning on doing the UV texturing within verto to avoid more problems with 3D file format conversion.  It should work out fine, as long as I make sure I absolutely do not modify the vertices of the model when I do the texturing, as this will break the references inside of the animation skeleton structures.  Fun stuff.  More to come soon…

The ways of shadows

Ahh shadows.  I’ve been putting this off because lets face it, 3D shadow mapping is not frickin easy.  There are countless advanced algorithms for 3D shadow mapping to make shadows look as pretty as possible on our discrete-centric graphics hardware.  Some of them are crazy complicated and quite difficult to implement.  I’ve been messing around with 3D graphics programming for over 10 years now and let me say that shadows have always been just out of reach for me.  This week, I decided to put an end to that.

As a plan, I’ve decided to keep things as simple as possible.  I’m making a game here, not a game engine, so I wanted to get shadows working reasonably well, and get back to the game programming aspect of this project.

The basic outline of the simplest shadow mapping technique:

  • Render the scene from the perspective of the infinitely far direction light (shadow pass) into a shadow-depth texture.
  • Render the scene normally using the depth-information from the shadow-depth texture to determine whether or not a particular pixel is visible to the light or not (in shadow or not).

The Shadow Pass

Above, it sounds simple.  In practice, there are many caveats.  For starters, its absolutely critical to get the most of out of the “shadow-depth” texture in terms of resolution as possible.  Thus, when rendering the shadow pass, we want to contain the entire scene into the light’s view with the constraint that we show as much (are as zoomed in) as possible.  If we zoom in too little, we hurt the resolution of the shadow map.  If we zoom too much, we risk clipping the scene resulting in some shadows being lost.  Furthermore, we want to render this step with as simple of a shader as possible, to avoid unnecessary wasted computation on the GPU.

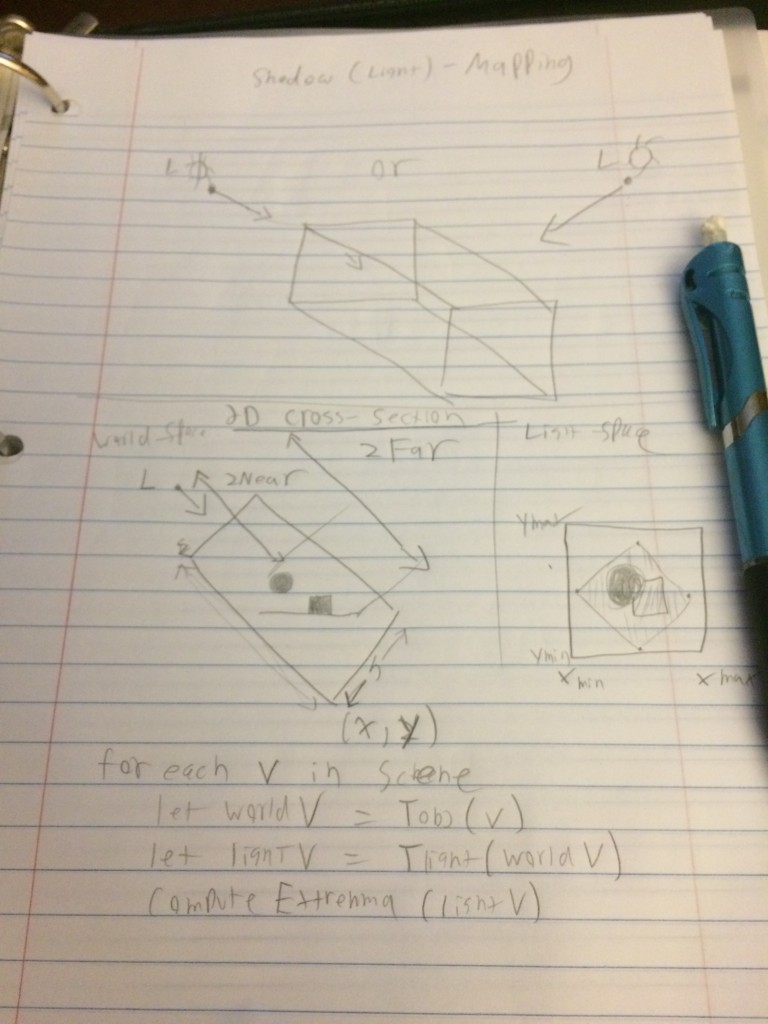
Going back to the optimal viewport containment (zooming) issue, this boils down to computing the optimal Ortho-box that the scene will be contained in.  We’ll use this box as the parameters to the ortho projection matrix given during the light/shadow rendering pass.  Optimally bounding the scene with this box presents a problem due to the fact that the box is in light-view-space coordinates, and all of our scene bounding boxes are in world-space.  Trying to work through this last night, I resorted to pencil and paper.

The algorithm essentially involves grabbing the light’s “viewing” transformation which consists of a simple lookAt transform and applying it to the 8 corner vertices of the world-space bounding box of the entire scene.  Once I have these coordinates in light-view-space, hopefully a computation of a new axis-aligned bounding box of these 8 points will be the ortho-box I’m looking for.  It turns out, that this worked quite well.

The actual code of this algorithm ended up looking more like this..


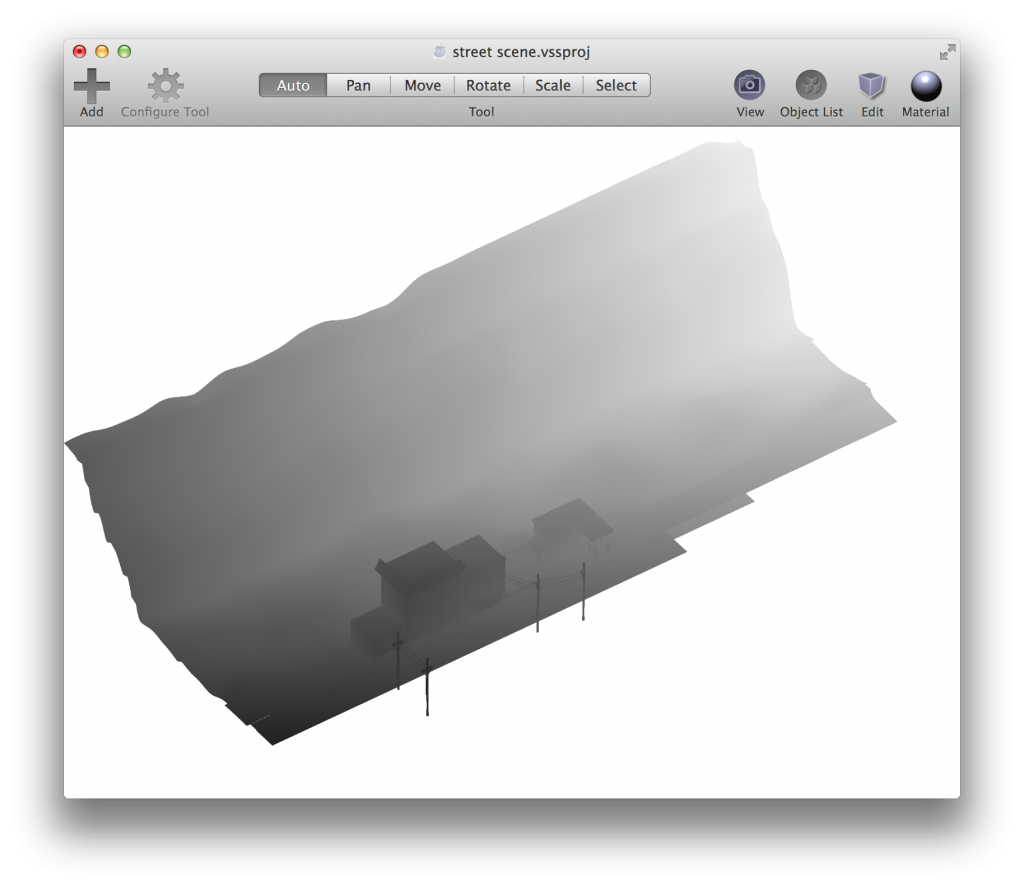
Below is a sample result of a shadow pass done using my cheap and simple bounding algorithm ran on our street scene (vantage of the light).  Note that this is stored into a depth-component texture attached to the depth-attachment of an offscreen FBO.

Goooood.

The Shadow-Application (main) Pass

During the main rendering pass, I needed to modify my shaders to include the application of the shadows from the light-map.  Alongside the light-map texture, I needed the a variant of the same “MVP” model-view-projection used to transform a world-space position into projected light-view-space coordinates.  This matrix is commonly referred to as a “bias shadow matrix” because its optimized to express the result in a normalized texture-coordinate form that GLSL texture routines are expecting.  In short, it simply applies the lighting-transform, divides the coordinates by 2 and then shifts them by 0.5.

Armed with the shadow matrix and the shadow map texture, I generate the needed shadow coordinate information in vertex shader.  I also compute a shadow bias to combat a well-known phenomenon known as “shadow acne” essentially caused by z-fighting from the shadowmap texture.   

Lastly, in the fragment shader, I sample the shadow texture to determine whether or not the shadow coordinate of the given fragment is visible or not to the light.  I can vary the visibility factor to be as dark or light as I want to achieve the desired effect.  Note that I’m using a shadow sampler here.  This special hardware sampler takes multiple samples of the shadow map for me and interpolates the results automatically to produce a smoother shadow edge.

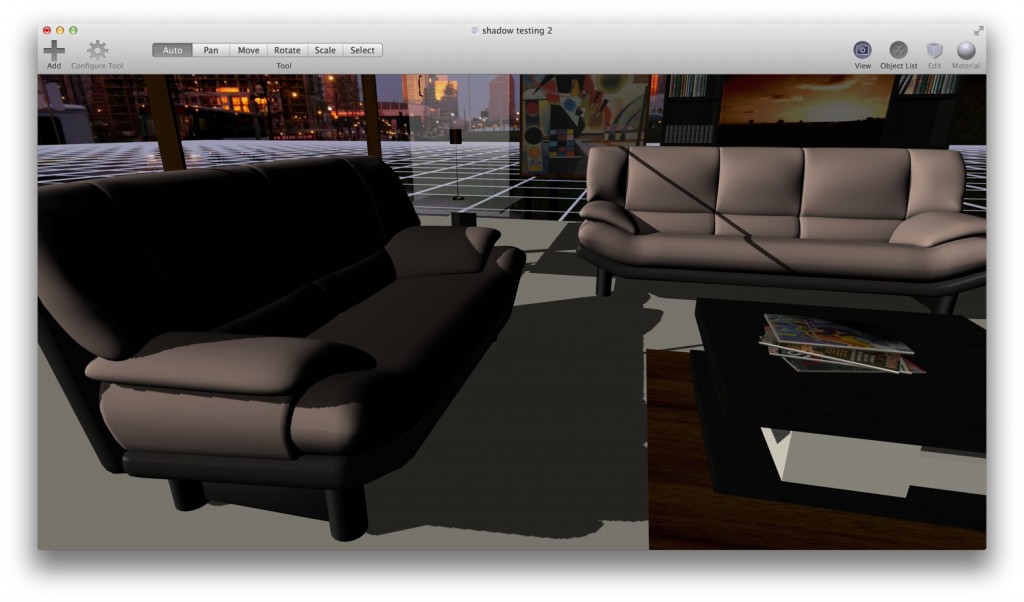
The results of all of this craziness is something quite nice.  Shadows casted in my scene that can lie across curved surfaces.  This was quite a bit of work but I think it’ll be quite worth it since now my graphics engine is shadow-capable.  Down the road I’d like to add point-light shadow capability via rendering into shadow cubemaps and general shadow capability for Verto Studio, but for now, directional light shadows satisfies the needs of my game project.

Scene texturing 99% done!

I got the street scene mostly done!  I actually had gotten this far on monday but I’ve had to spend alot of time getting Verto Studio for iOS back up to speed and polishing the new features that I’ve recently added.

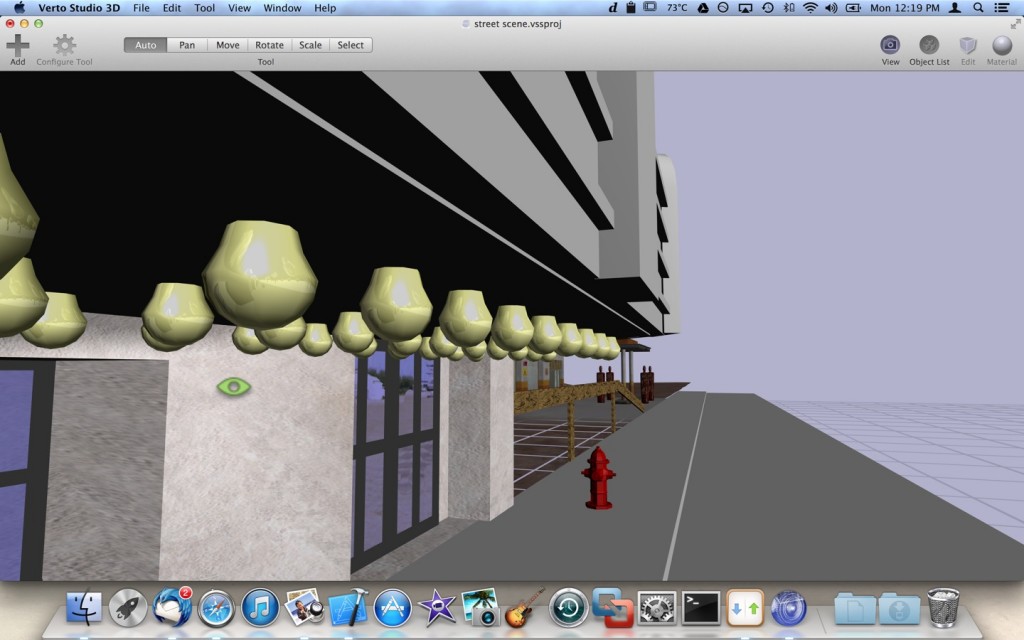
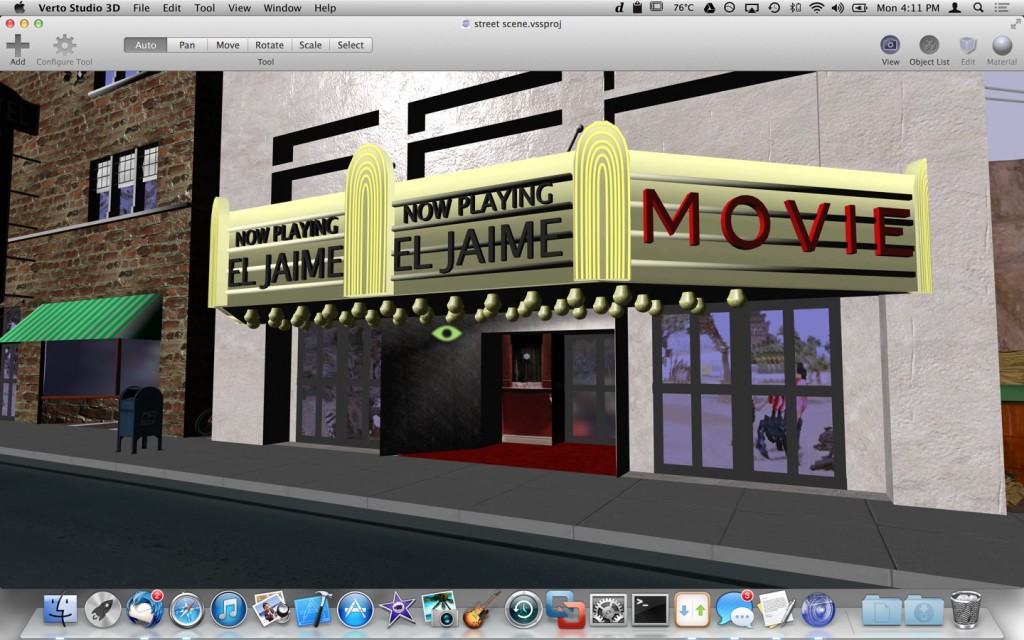
I’ve started to worry a little bit that this game will quickly become too boring for only having one scene but I’ve promised myself that this will be a SMALL scope game (which has already ran quite longer than I thought it would).  I’m hoping my idea of slowly transitioning the graphics from “realism” to “black&white noire comic-bookism” as the player loses touch with reality will help keep things interesting.

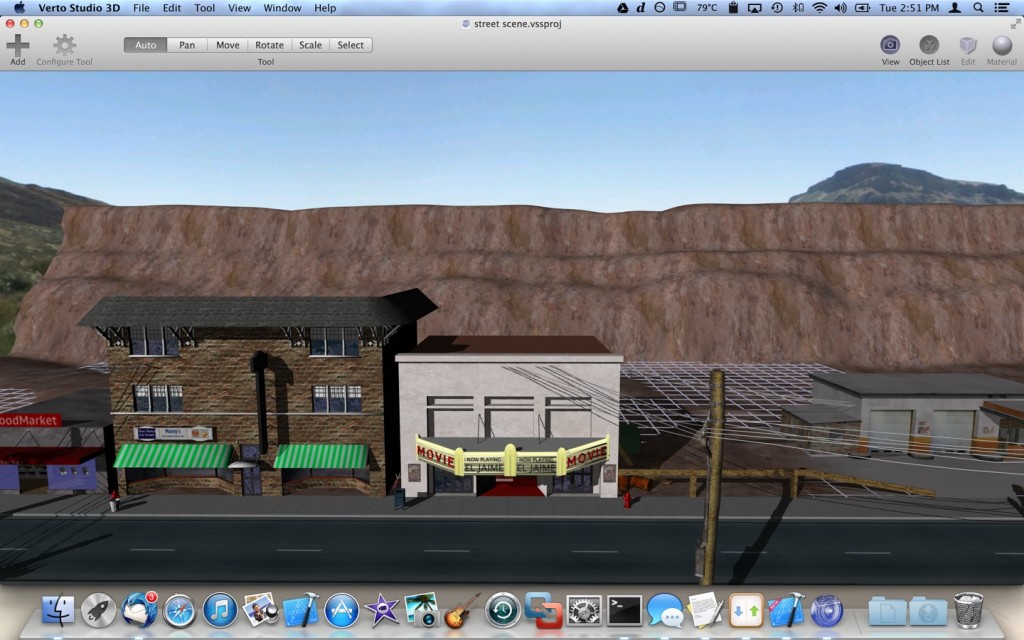
Yarr.  Screenshots be below.

My cubemap renderer feature came real handy for the light-bulb reflection effect.

More of texturing day

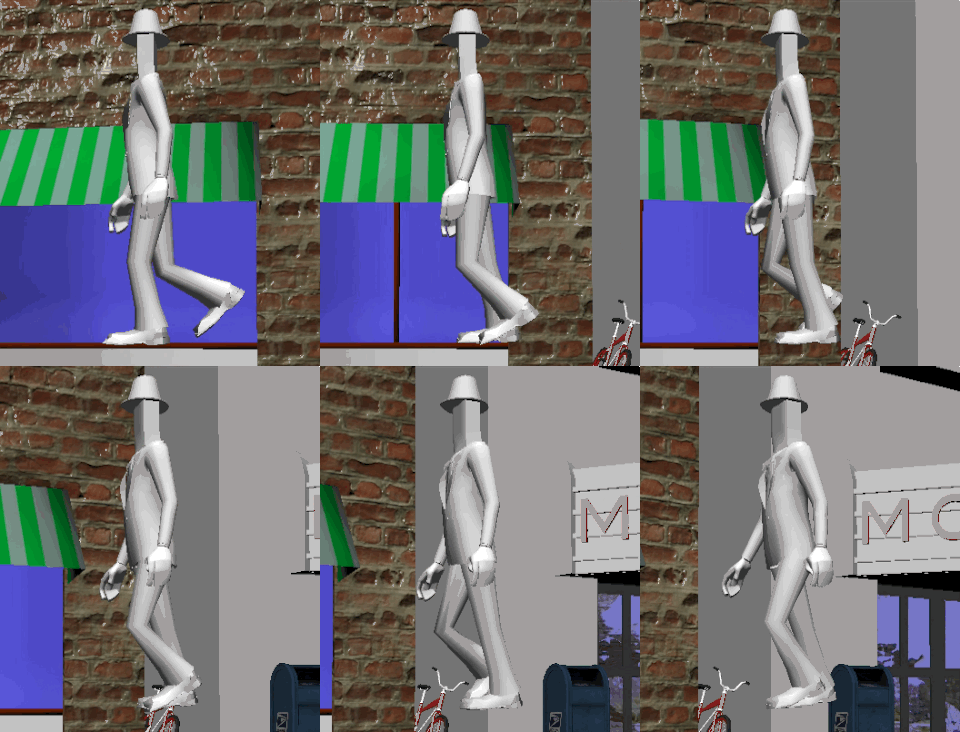
Yesterday I worked quite a bit with my character animator Tyler Hurdle to get the animations properly exported from his modeling software into my graphics engine.  After much wrestling, I got the simple walk cycle loaded in and it looks awesome.  

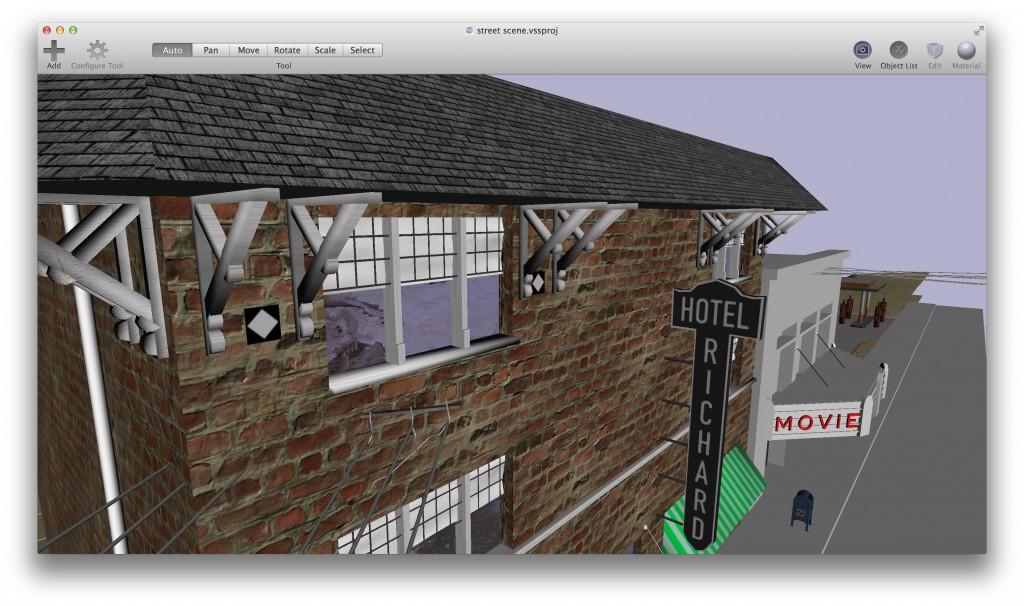
Things happened today.  Those things included me finishing up the texturing for the Hotel.  I must say, it’s really starting to look good. I can’t imagine how it’s going to look once I add in the final shadowing and post-processing effects.  I didn’t take as many intermediate screenshots as I should have this time. So I only really have the final results of where I am at the end of today.  Nothing too-far out of the ordinary happened during the last steps of the texturing of the hotel besides me modifying the basic window shader effects to include partial transparency. I did this so that I could “cheat” with the interior shops of the hotel, modeling the interior as a simple gaussian-blurred backdrop which is partially of obscured by the semitransparent window.

I also decided to get rid of the ugly default “sand” texture that I’ve been using for my background terrain.  I spiffied this up a bit with multitexturing effects using a detail texture which came out pretty awesome.

After all this, the frame rate performance within the editor and the game started to both get really bad.  So I had to stop modeling and dive into some optimization once again.  Using instruments within xcode, I uncovered some horrors related to the terrible performance of objective-c’s NSString methods (namely stringWithFormat) which forced me to eliminate their usage and some of the more critical sections of the rendering engine’s code.  That alone, gained me another ten frames per second back and started getting me to question the viability of Objective-C for hardcore game engine development.  I sure hope Swift’s string methods are faster than Objective-C’s.

Continuing with optimization, I put off the long-needed step of sorting scene entities first by transparency, and then by material.  This helped me avoid unnecessary state changes which propagate to the shader and harm performance.  I also hard-coded a backface culling test which showed that I really need a per-model “cull backfaces” option within the editor.  All of this optimization added up quite a bit to bring my performance back up to a reasonable level.

All of this work today uncovered quite a few new bugs in the editor itself, so tomorrow will likely be spent fixing those…

Texturing day

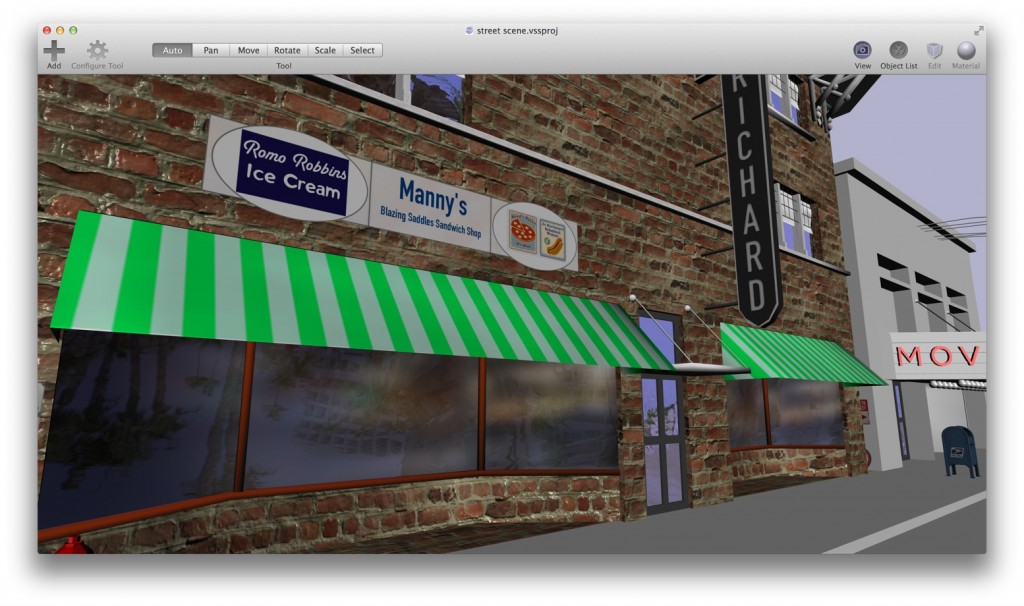
I got alot accomplished today.  I continued with my texturing efforts and started texturing the hotel.  This is the most important building in the scene since its the biggest and stands out the most.  I really wanted to work on my attention to detail while working on it.

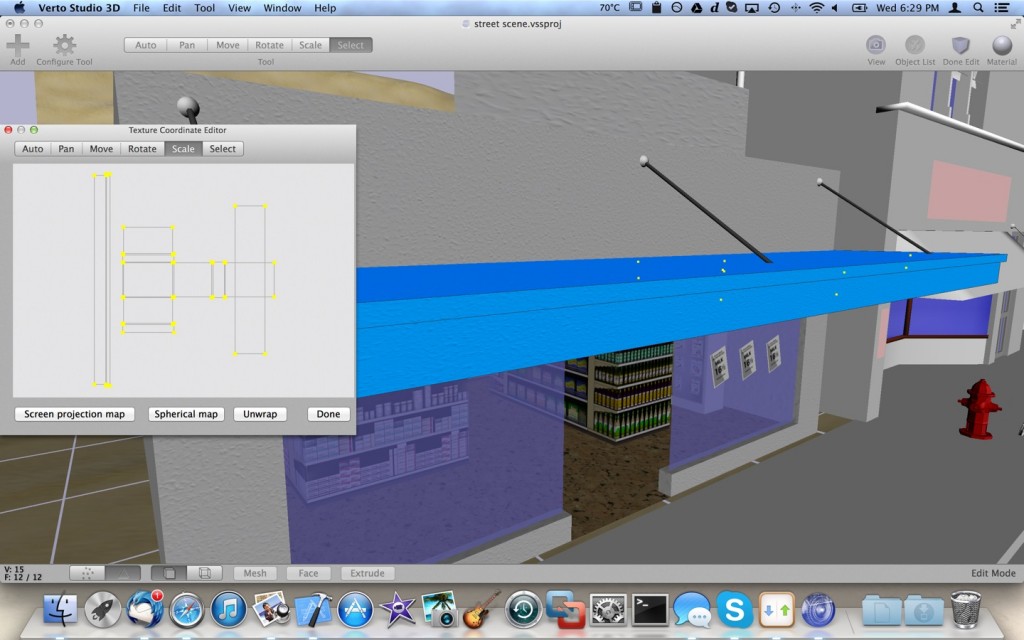
One feature that I programmed for verto yesterday that has proven insanely invaluable to me is the unwrap texture feature.  This feature maps polygons to one of 6 faces of a virtual box and assigns them their own coordinates within the UV texture space.  In lamens terms, it makes texturing box-like objects a hell of alot easier.  It works best when the object has some flat shading enabled.

I finished texturing the supermarket yesterday but I’m not all that satisfied with it.  I’ll probably revisit it when the rest of the street is further along.

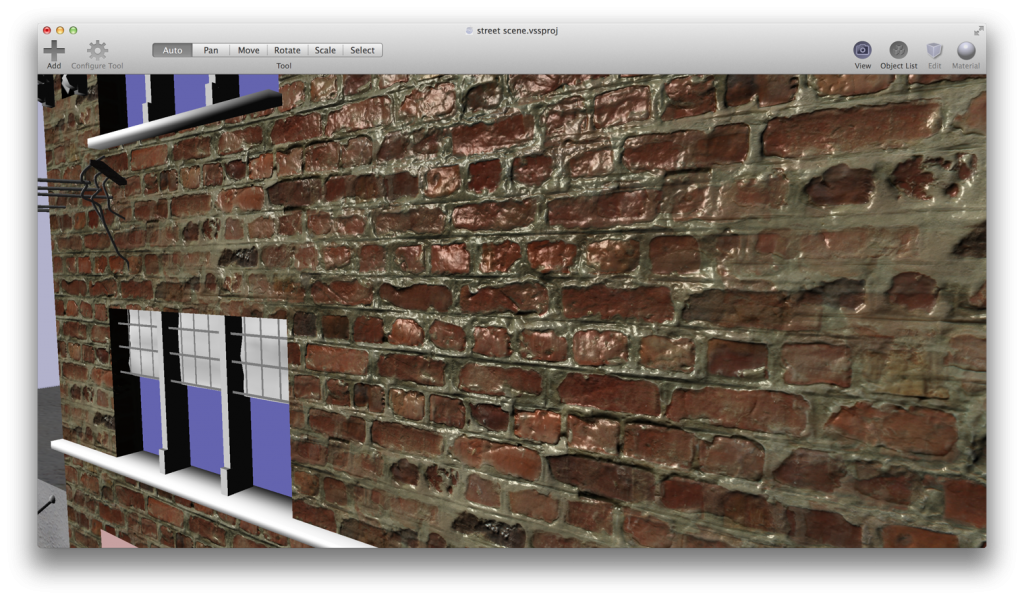
The hotel on the other hand, is looking really nice.  Sometimes its all about finding the right texture.  I found an excellent brick texture via turbosquid.  I then ran it through my favorite filter:  gimp’s “make seamless”.  Lastly, I created a normal-map for it using the “crazy bump” tool for mac.  All rendered with bumpmapping, the hotel front looks great.

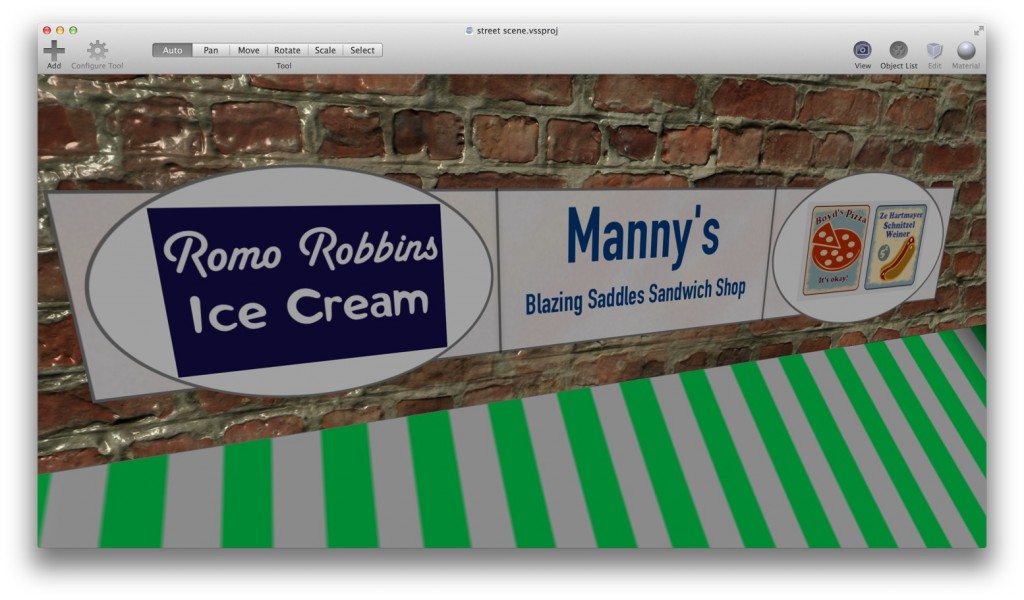
Perhaps the most fun part of today was painting the sign decal texture for the sign that sits above the left shop in the hotel.  For someone who’s a crappy artist, I felt like I didn’t do too bad of a job.  After throwing in a few references to name’s of my buddys, I got it all ready to go.  I render it using a simple alpha-test shader.

Last but not least, I took on the “opaque window” shader that will be used on all the non-transparent windows in the scene.  I tried a flat reflective environment mapping effect but it looked pretty unrealistic.  Since we’re in the early 30′s here, I figured that I would simulate “wavy” or “mildly bumpy” glass.  This means combining bumpmapping and environment mapping shader techniques.  The result is very awesome.

Working on this game is proving to be too fun.  Sadly, I should probably do some non-game-related work on Verto Studio tomorrow and return to this stuff next week.


The insanity that is OpenGL Occlusion Queries

Intro

So this morning is the first morning that I am working without a day job.  I must say its liberating…. but enough about that crap!  It’s time to get to work!

This morning was a programming morning.  The considerable performance drop of my scene during my modeling efforts led me to investigate methods for improving my scene’s rendering performance, both in the editor and in the game itself (since they both use the exact same rendering engine).  Back in the day, I used to laboriously accomplish this using frustum culling.  Frustum culling is a technique that uses a spatial data structure, an octree, to categorize the mesh objects in a scene into cubic regions, and then mathematically detect whether or not those regions are in the viewing volume (frustum) currently visible in the scene.  This technique works okay, but it’s a pain in the ass to implement and I’d rather not if I don’t absolutely need to.  Furthermore, it doesn’t handle the situation of occlusion, when a very large 3D object is in front of a smaller one, eclipsing it, making it entirely invisible and useless to render since it’ll fail the z-buffer test.

Thus, enters “occlusion queries”.  A very cool OpenGL technique which allows you query exactly how much of a 3D object was truly rendered, and decide whether or not to keep rendering it in the future.  This is exactly what I needed.  It all sounds great in theory, now let me tell you about some of the issues I had implementing it.  I’ll try to avoid some of the ugly Objective-C syntax that surrounds this code in my actual system in my snippets.

Technique Overview

So in practice, occlusion culling is quite simple.  There are basically 3 steps.

First, you must render the scene using very simple solid bounding-box geometry.  ie, for each discrete mesh object within your scene, you render a giant solid box that entirely bounds that object. You only render this box with a very simple flat-color shader which will keep your query render very fast.  You don’t actually want these boxes to appear in your scene, so you do this step with color buffer writes and depth buffer writes turned off (masks set to FALSE).

Next, you query the results of the above for each box rendered and determine which models were visible (not occluded).  You make a note of the ones that were.

Finally, you render the scene normally, with the extra check to ensure that you don’t render the model objects that were not visible.

Setup

So the first thing I needed was a single occlusion query per mesh object in my scene.  In OpenGL, these (like many things in GL) are GLuint ids.  I dropped these into my entity mesh class

Then, in the model init and dealloc code, I generate the query objects as needed.

I then set up a special method that renders the solid bounding box geometry used during the occlusion query.  Now here’s where things get tricky.  There’s a way to do occlusion queries wrong (which I found out the hard way).  So much so that the performance benefit that they offer is entirely negated by the pipeline stalling that you can inadvertently cause.  Note the check against the EntityMeshOcclusionWaiting state.  This will be explained in the next section.


Scene Rendering

To kick this off, I added a new special method to my Scene class called renderOcclusionQueries.  I then inserted a call to this method in my scene’s main render method like so.  Note the usage of glColorMask and glDepthMask to ensure the query bounding boxes don’t actually render to the screen.

With the queries properly set up, I can now use them during my main rendering pass of all the entities to ensure I only draw whats necessary.  Again, this was tricky.  I had to absolutely make sure I never stall the pipeline.  No matter what.  This means I don’t retrieve a query result unless GL_QUERY_RESULT_AVAILABLE is true.  If it isn’t, I leave the query in the “waiting” state.  I also don’t start a new query when it’s in the waiting state (note the check against this in the above entity renderOcclusionQuery method).  This essentially means that the occlusion queries are entirely asynchronous with respect to the main rendering.  

That’s pretty much all there is to it.

Considerations

Now aint nothin in this world fo free.  So there’s some things I should mention.  First, if I wasn’t also targeting iOS mobile, I would have probably used the OpenGL conditional rendering method which essentially does alot of the above checking for me automatically.  I noodled around with this and couldn’t get equivalently good performance so I just moved onto the manual way.  I also don’t like how I still have to submit all the expensive drawing “and non” drawing calls with conditional rendering and essentially trust the driver to do whats best.  My method ensures NOTHING is ran if the object isn’t visible.  With the downside being initiating readbacks from the OpenGL device back to the CPU.  However, I’m getting very decent performance with this so I’m happy.

Also, because the queries are truly async, I can get myself into trouble when running this code on very slow or buggy graphics cards (ahem.. intel..ahem).  The problem being, if the query takes too long, you may look at a space where an object should be, and not see it for a few frames while waiting for the query to catch up.  This finally explains to me why when playing some games on my wii u (such as call of duty), I sometimes turn real fast, and see an object suddenly appear a few frames late.

More modeling..

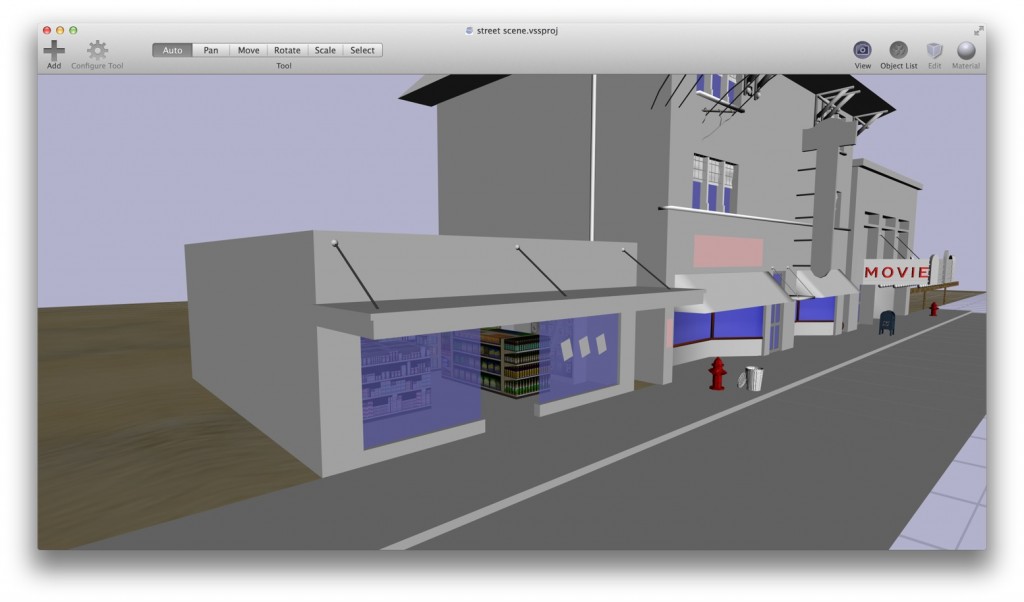
Today was another modeling day.  It’s starting to look pretty decent.  I finished up the convenience store and added a vintage gas station to the end of the street.  I’ve definitely been pushing verto hard so I’ve been running it in the debugger just to make sure I catch any serious bugs or crashes while I work so that I can fix them on the spot.  I’ve already used the crap out of my instancing feature and fingers crossed, it’s working pretty well.

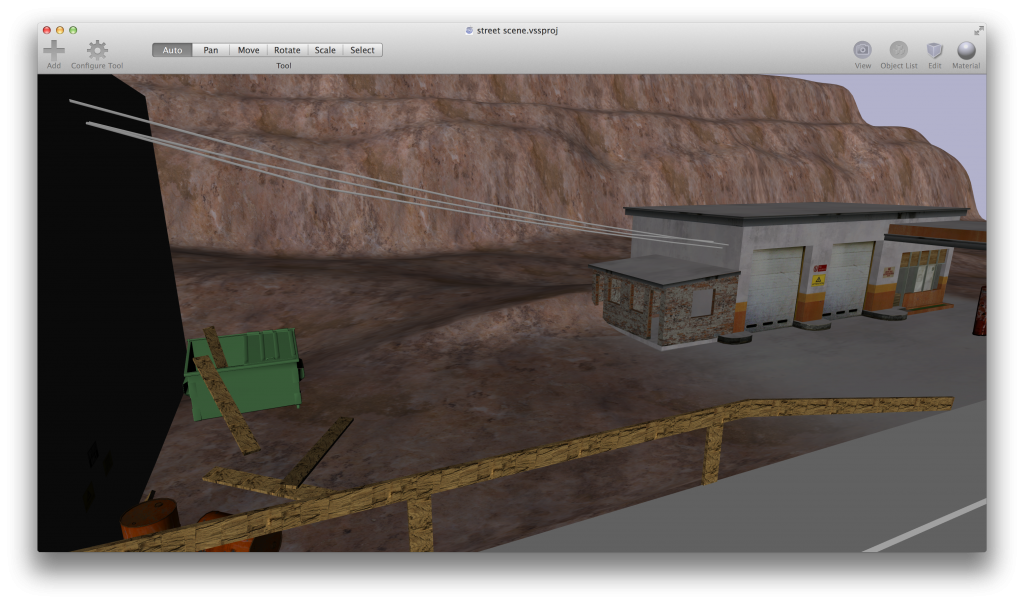
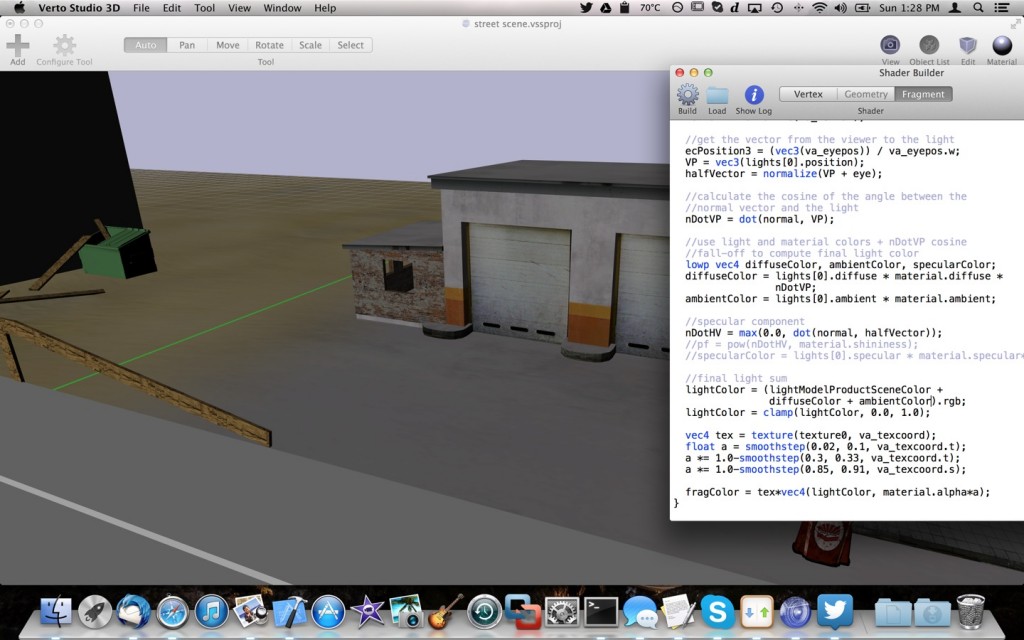
I got to use my shader builder feature today while working on the gas station parking lot which felt awesome.  Being able to quickly hash out shader effects is proving invaluable for this project.  I used the GLSL ‘smoothstep’ function to code a quick-and-dirty solution for cross fading the parking lot with the desert terrain underneath.  Using blending for the entire polygon is not all that efficient but I’ll take that over a more complicated multitexturing solution.


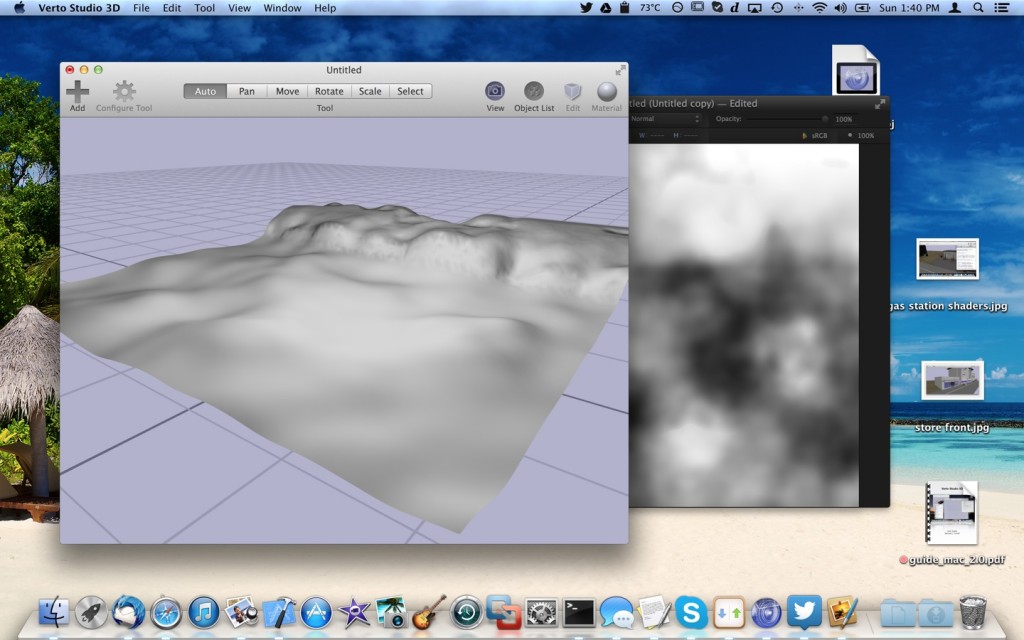
I also drafted up a quick terrain mesh using pixelmator to create a height map.  This is how I’m going to take care of the background scenery with a tall “mountain” range in the background of the street view.

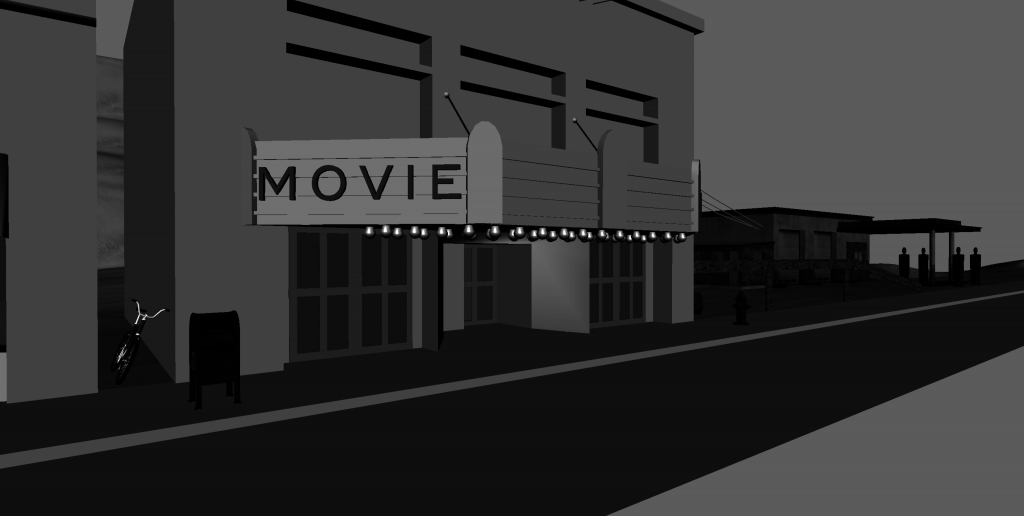
Lastly, I screwed around with the multipass pipeline editor to see what a “noire”-like black and white effect would look like on the scene.  It gives me chills and definitely inspires me to keep working on the project.

Early noire effect

I can’t wait to see what it all looks like when I’m done the texturing.