Category Archives: OpenGL

Porting to mobile – A few weeks of work boiled down to one post.

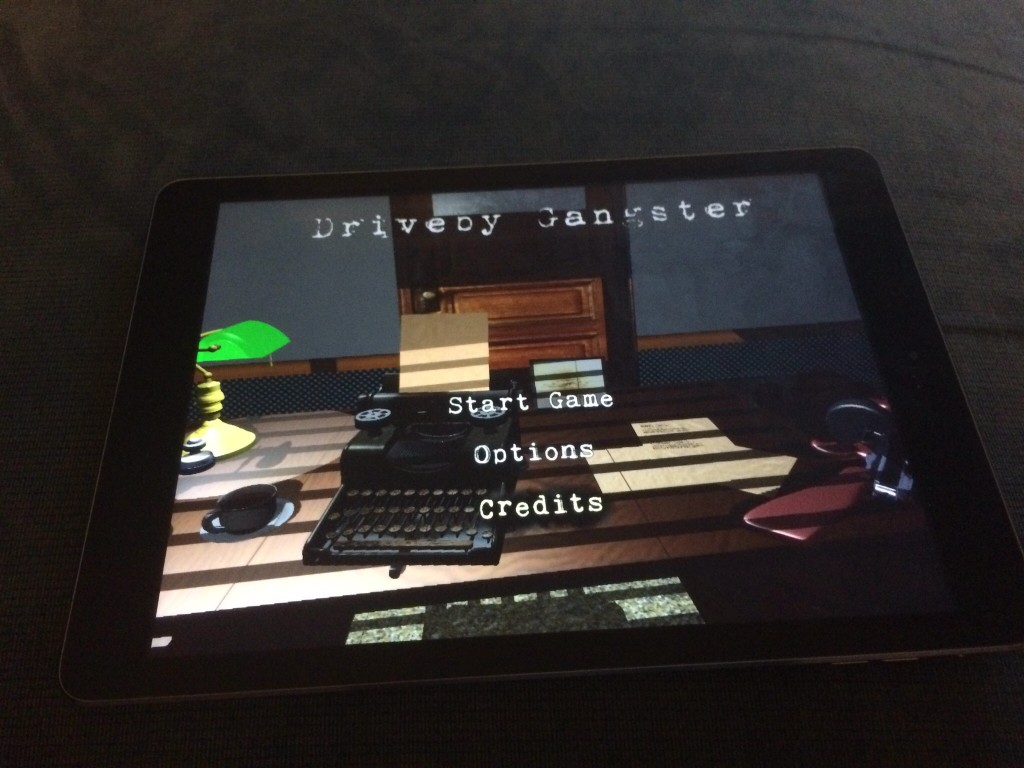
DG on Mobile

After putting roughly 6 months into this project, it seemed stupid not to go the extra mile and release this game for iOS if it was possible to be ran on it.   So that’s what I spent the last few weeks doing, and I eventually reached success (I submitted it to the store for review this weekend).   Disclaimer, much of this post was written using voice dictation so it might not flow as well as a typed document

What it took

Now even though mobile was in the back of my mind, this game was never really designed to run on mobile. The final desktop game took up roughly 1 GB of disk space and 1 gigabyte of RAM running which would slowly rise to 4 GB over time which I suspected and later confirmed to be caused by memory leaks.

To get the game to run on my iPhone 5s, The first thing I did was make some minor modifications to the graphics engine code base to support running OpenGL 3.2 code on an iOS device.  The easiest way to do this, was to simply target the OpenGL ES 3.0 API. The differences between OpenGL 3, and GLES 3.0  are so minor, that this was the best bet that I had for an effortless port of the game.   This sure beat the hell out of the alternative which was to laboriously rewrite my dozens of now-forked shaders in GLSL for OpenGL ES 2.0.   The downside to this however, was that I basically was cutting off any iOS device that could not run OpenGL ES 3.0 (pre-iPhone 5s, pre iPad air).  I still decided to go for it despite all this.

OpenGL ES 3.0 supported so many things that I needed for my game (such as multiple render targets, shadow maps, occlusion queries, etc) that the whole process worked out really well.   Things that used to be near impossible to do on mobile OpenGL were now surprisingly easy to accomplish.

Still, there were some serious challenges that I had to overcome

What sucked and needed fixing

Off the bat, the most serious and challenging problem presented itself almost immediately after running a few levels of the game on my iPhone:  RAM consumption.   Almost immediately, loading the first level resulted in memory warnings and the eventual memory crash caused by allocating too much RAM on the device (this equates to roughly 512 MB on an iPhone 5s).   This almost made me cancel the idea immediately thinking that there’s no way the game could fit as designed on a mobile device.   When I ran the instruments tool, A utility that comes with Xcode to help you trace allocations and such,  I discovered that my sound effects alone were taking up well over 100 megs of RAM.   I also discovered that the heap was growing at an alarming rate between level reloads resulting in the eventual memory crash.   Other assets such as textures and animation data were taking up another hundred megabytes or more (GPU memory is not easily trackable on an iOS device so I could only speculate how much the standard high-resolution desktop textures were taking up).

I used the invaluable “generations” tool of the instruments utility to track down an eliminate my biggest causes of memory leaks.  The funniest one I can remember is the silent failure of the OpenAL alDeleteBuffers call resulting in the leak of ALL sound effects used in the game, including the very large “radio music” buffer which held roughly 1+ minutes of music audio.  Leaking this was wasteful on desktop, but downright devastating on mobile.   Discovering that I had to dequeue the auduo buffer first, solved that issue.  Other stupidities such as bad pointer casting and issues related to C++ 11 smart pointer retain cycles I counted for the other memory leaks.

Apart from the memory leaks, there was a very serious issue that almost crippled the release of the entire game on mobile. This one was not my fault, and it’s related to a arcane bug in the iOS OpenGL 3.0 driver  and how it handles OpenGL occlusion queries.   Leave it to me to always find GL driver bugs in just about every platform I target for my games.   This particular bug caused repeated usage of occlusion queries to eventually crash the whole app inside the driver code. I frustratingly posted this on the Apple developer forums, and got one of the engineers (one of the awesome engineers) to track down the issue and provide a workaround for me which fix the issue.  For those that are curious, the workaround was to run the occlusion queries without an active color buffer attached to the default frame buffer object, bypassing the issue that leads to the crash.

Fixing all these issues however, still would not of been enough to get the game to run on iOS

Optimizations for mobile

To get the game to work “fit” on my iPhone 5s and iOS in general, I had to make the following optimizations

  • UX/controls – The game needed to support a touchscreen interface.  I  accomplished this by adding various touch regions for things like the aiming (touchpad on the left side of the screen), shooting (lower right hand corner of the screen), and vehicle acceleration/deceleration (tilting the device).
  • Compressed reduced-resolution textures – this was probably the biggest deal.   I took advantage of the OpenGL ES 3.0 standard ETC2 compression to pre-compress all textures to this special format.   This allowed me to drastically reduce both the ram and disk space consumption of the texturea for the game.  It also drastically decreased the amount of time it took for the scenes to load, offsetting the load delays caused by the slower CPU on my iPhone.
  • Shortened sound effects – I truncated very long sound effects such as the radio music which were loaded as OGG files.  I reduced these from over one minute to roughly 30 second loops at the longest, drastically reducing the amount of memory taken up by the audio in RAM.  The reason why the sound effects have to exist as full audio buffers has to do with the real-time effects that I apply to them using Open AL in the game.
  • Gzipped scene metadata –  despite already using a binary XML format to store the actual scene data, I found that the disk space usage of all of my scenes was still very high and I could not expect users to download a 1 GB app on iOS.  I fix this by gzipping the project files and live-decompressing them on load (using C++ gzipped file streams).   Despite this adding a very slight CPU performance hit on load, it was worth it for the reduced app size –  which I ultimately got down to roughly 500 MB.
  • Shader optimization –  because many of the game’s shaders were written for a far more powerful desktop GPU,  I had to make optimizations such as reducing precision in some areas and disabling more expensive effects in the game to account for the slower GPUs on mobile.   I also added an option to the game’s main menu to disable the retina display on certain devices and even made this the default on devices such as the iPad Air first-generation.

I also added support for MFI game controllers, a supported API by iOS 7 and above to allow players with physical game pads to get the best gaming experience possible. This was not a big stretch considering the original game was designed for physical buttons in the first place.

After doing all of this crazy stuff, I finally got the game to run reliably without crashing on my iPhone 5s and iPad air.

Victory.

Push through to the end

After a long vacation abroad during the past month or so, it is a must that this game will meet it’s goal of completion in march.  I’ve pushed through to level 19 today with great progress.  The new newspaper-esque art style looks really good and at this point, it’s just a race to the finish line.  The coolest thing about experimentation sometimes is how you stumble on to a specific kind of rendering style by accident.  I’ve found that by using the same SSAO technique that I have previously implemented while removing the depth-checking produces a dark outline halo around most models in the scene.  While for generalized SSAO this would be undesirable, I love the way it looks and have decided to make it part of the art style for the dark/noire second-half section of the game.  Combining that effect with a lack of the blur post-processing effect on the noisy SSAO results in the very newspaper/comicbook style that I was already going for.  

Needless to say, things are going well now that I’m back at it.

Ambient Occlusion

So I got the ambient occlusion effect implemented in the actual game shader code.  I followed the technique outlined in this article.  I must say, it’s very subtle, but it looks nice.  The real benefit here is that when I turn off the “check depth range” mechanism, I get a very awesome surreal dark outline around all of the models in the scene.  This will be an excellent effect to use when I work on the second half of the game (which will use an artistic black and white noire post processing style signifying the protagonists slowly weakening grip on reality).

I didn’t understand how ambient occlusion worked at all before implementing the effect, but now I must say, I have a pretty reasonable grasp on it.  Basically in one brief description, it takes random samples at every point on the surface to determine how much ambient light from the rest of the scene can reach that point.  In other words, how much of the ambient light is occluded by other nearby surfaces.  This is done by randomly sampling points within a small hemisphere emanating from the surface.  What makes SSAO so nice, is that this technique is approximated entirely in screen space, making it reasonable for real-time rendering in a game.  The downside is it seems to be a little noisy and I see artifacts from time to time on the screen, but hopefully I’ll be able to clean some of that up in time.

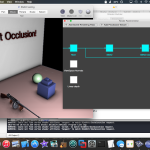
Below are some more progress shots showing the kinds of subtle shadowing I can achieve using SSAO in the VGLPP/DrivebyGangster engine.

Ambient Occlusion!

Today was huge!  I am exhausted.  I busted my ass today to get an affect known as screen-space ambient occlusion (SSAO) working in a prototype scene in verto studio.  Right when I was about to give up, I got it working!  I’m too groggy to explain anything about it, so I’ll just post pictures!

This is going to add a huge boost to the visual look-and-feel of the game without a severe performance penalty.  Needless to say, I’m pretty stoked!


OpenGL point light shadows & Atomspheric FX hacks

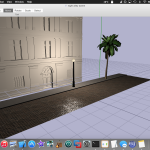
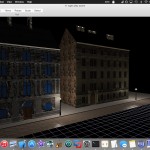
So asset creation in the form of modeling the final environment that’ll be used in the game took the past few days.  It’s amazed how much faster it went this time compared the first scene (the city street).  I chalk this up to experience that I’ve picked up now that I’ve been doing this awhile, and my understanding of things that are very time consuming to model vs things I can quickly grab, import, texture, and place from turbosquid.  The perfect balance of both techniques has led to me being done with the dark night alley street scene after just a few days.

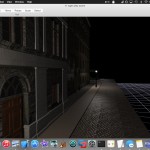
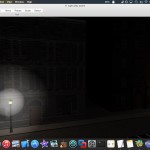
Where I spent the most time this time was in the shaders.  I really wanted to have quality rendering and go out with a bang since this’ll likely be the last environment that I do for the game.  I want the dark alleyway to appear foggy and dark, like its just about to rain.  That includes moist shiny cobblestone rocks, and a damp fog effect that feels very palpable to the player.

This idea of mine posed two major problems that I haven’t had to tackle until now.

Point Light Shadows

The first major problem, is that I could no longer “cheat” using a single directional light source representing the “sun” in the scene.  Instead, I had to place a street lamp every building or so and have these be the only sources of light in the scene.  This means, in order to keep my shadows working, I now had to implement shadows from a point light source.  In some ways this was easier than point lighting (no longer necessary to compute an optimal shadow bounding box to be used for the light’s ortho matrix projection).  However, now I needed render to and utilize cube maps to store the shadow depth information.  Surprisingly, there was very little comprehensive information on the web about how to properly do PCF shadows using cubemaps.

What I found that works is the following.

  • Create a cubemap renderer that is positioned at the exact same position as one of the point lights - this special vgl engine object renders the scene into 6 faces of a cubemap with 90-degree fov angles to properly capture the entire scene from “all angles”.
  • Format the cubemap shader to have each face hold floating point depth-component values and keep the size small (256×256) since there will be alot of these.
  • Define an “override” shader to be used by the above cubemap renderer to ensure a simple specialized “light render” shader was used when rendering the scene into the cubemap faces.  
  • Set the cubemap compare mode (GL_TEXTURE_COMPARE_MODEfor the rendered cubemap texture to GL_COMPARE_REF_TO_TEXTURE which helps with percentage-closest-filtering (PCF) mode to allow smoother linear-interpolated shadow edges.  
  • Lastly, pass a rendered shadow cubemap for each light to the scene shaders in the form of samplerCubeShadow

The “light render” shader mentioned above which is used when rendering the depth information to the cubemaps looks like so:

Basically this encodes the distance from the surface point to the light in the form normalized depth information.  This is done by manually overriding the depth value stored in gl_FragDepth.  Each light has its own cubemap renderer with a custom-tailored shader like this (using the correct light index to compute distance from).

The per-fragment lighting shader code that utilizes the cube shadow maps looks like:

Essentially the highlighted code above compares the distance between the surface point to the light to the stored depth value in the cube texture using the fragment-light vector as a lookup value into the cubemap.  Because we’re sampling using a special “shadow” version of the cubemap sampler, the result will be properly interpolated between shadow texels to avoid ugly edges between shadowed and non-shadowed areas.

Luckily, I was able to build this into the Verto Studio editor and associated graphics system and test this out with relatively little trouble.  Even though I have 4 or 5 statically rendered cubemap shadow textures in the entire scene.  I was able to keep performance high by building versions of the shaders for each side of the street so that each individual shader only has to shade with at most 3 lights at a time.  This worked out better than I had expected.

Light-Fog Interaction (Volume FX)

This part was tricky..  I had an idea in my head of how I wanted this to look.  So I did something that usually leads to trouble;  I tried to come up with a volume rendering technique on my own from scratch and implement it and just kinda see how it goes.

The basic idea stems from what I’ve observed in real life from foggy, dark, damp nights and lighting.  Essentially, fog at night is black… IF there is no light around to interact with the fog.  Naturally, if the water droplets don’t have any light to interact with them, you won’t see them and the fog will appear black.  However, if any light interacts with the water vapor in the air, it’ll create the illusion of a whiter colored and denser fog.  So this is what I set out to emulate with my shader.

Now atmospheric shader effects can often lead to the necessity of raymarching and heavy iteration in the fragment shader to simulate the accumulation of light-atomosphere interaction.  To this I said “hell no” since ray marching of any kind in a shader terribly robs performance.  I quickly realized that I could avoid raymarching entirely if I used a simple model to represent the light-fog interaction that I was going for.

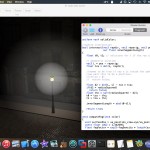
In my case, it turned out I could do the whole effect using something as simple as a sphere intersection test.  Basically, when I’m shading a pixel (a point on the surface), I’m interested in what happens to the light on its way back from the surface to the viewer, the surface-to-viewer vector.  If the atmosphere affects the light at any point along this vector, I’ll need to compute that.  In other words, if the ray from the surface to the viewer intersects a sphere centered at the light, then the fog affects the light on the way back to the viewer.  How much?  Well if I calculate the length of the segment between the entry and exit points of the ray intersection (how much of the sphere the ray pierces), I find that length is proportional to both the perceived increase in density of the fog and the brightening of the fog color.

This algorithm is given below in fragment shader code:


I’m sure I’m not the first one to come up with this idea before, but it still did feel pretty cool to reason my way through a shading problem like this.  The visual result looks amazing.

The progress of this all is below in a gallery.  

Parallax Occlusion Mapping – Advances in shader land

Today was cool… at least the first part of it was, before I spend 5 hours tracking down a bug in some of the game code.

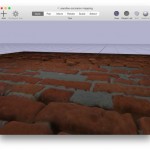
I stumbled onto a pretty cool little article geared towards a very awesome technique called “parallax occlusion mapping”. This is essentially bump mapping with some extra samples taken at each pixel to provide a realistic depth (or parallax) effect to the surface. This provides the illusion of realistic surface detail all while shading a single polygon. The article was somewhat dated and targeted for Direct3D instead of OpenGL, but I was able to port it over to GLSL 150 for OpenGL 3.2.

Here’s the original article:
http://www.gamedev.net/page/resources/_/technical/graphics-programming-and-theory/a-closer-look-at-parallax-occlusion-mapping-r3262

And here’s my port of the shader code for anyone who is interested.


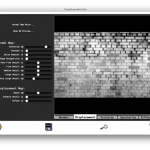
Some of this code is “massaged” by Verto Studio’s code converter when ran on mobile.  It’s definitely a pretty cool effect!  It requires 3 texture maps to work currently, a standard diffuse (color texture) map, a normal map, and a displacement or height map.  Lucky for me, there’s a sick little program called “crazy bump” for mac that can generate both normal maps and displacement maps from any standard diffuse texture map!

 WebGL demo

For those who want to see the shader effect in action, I got a WebGL demo which runs on chrome and safari (firefox and IE don’t work).

It’s an expensive effect however, so I’m not sure yet if I can work it in for Driveby Gangster.  Either way, it’ll definitely be a nice little addition to the shader arsenal.  If I do actually put it into use, I hope to eventually add self-shadowing effects as well.

Things…

Despite the activity on this blog, I’ve actually been quite hard at work on this game.  The last few days have been filled with quite a bit of shadow mapping optimization which has proven to be much more complicated than I originally thought.  Shadows are probably a good chunk of the reason why most people go with pre-built game engines instead of developing their own, but I finally got shadows working reasonably well!

I’ve also spent quite a few days trying to get the frame rate up for the actual game by optimizing the rendering engine.  I’ve made some small strides here but honestly the main cost in terms of performance seems to be the grand total accumulation of just “alot of OpenGL api usage” to draw roughly 250 separate objects in the scene.  When I turn off the root call (entity render) for the entire scene, the framerate goes sky-high, but when I comment out smaller parts or optimize entire sections of code such as my prepare to draw methods (setting up uniform state), I get very small gains.  This leads me to throw up my hands and say “screw it” at least for awhile.  I get roughly 60 fps when close to buildings (thanks to occlusion queries) and about 30 when viewing the whole street on my Geforce 650 m card.  That’s going to have to be good enough for what should remain a small game project.  I really don’t want to get sucked into too much more low-level OpenGL optimization for this project.  Surprisingly, my older laptop from 2009 gets 20 fps (still pretty decent) and the iPad Air gets a very decent rendering performance too.  Perplexing… but I’m all-around  pleased so I’m moving on from performance optimization for now…

After all this craziness, my next step is to finally start texturing the character model and making sure he still animates properly when textured.  My character artist wasn’t able to texture the model so now this falls onto me.  This hopefully shouldn’t be too bad.  I’m planning on doing the UV texturing within verto to avoid more problems with 3D file format conversion.  It should work out fine, as long as I make sure I absolutely do not modify the vertices of the model when I do the texturing, as this will break the references inside of the animation skeleton structures.  Fun stuff.  More to come soon…

The ways of shadows

Ahh shadows.  I’ve been putting this off because lets face it, 3D shadow mapping is not frickin easy.  There are countless advanced algorithms for 3D shadow mapping to make shadows look as pretty as possible on our discrete-centric graphics hardware.  Some of them are crazy complicated and quite difficult to implement.  I’ve been messing around with 3D graphics programming for over 10 years now and let me say that shadows have always been just out of reach for me.  This week, I decided to put an end to that.

As a plan, I’ve decided to keep things as simple as possible.  I’m making a game here, not a game engine, so I wanted to get shadows working reasonably well, and get back to the game programming aspect of this project.

The basic outline of the simplest shadow mapping technique:

  • Render the scene from the perspective of the infinitely far direction light (shadow pass) into a shadow-depth texture.
  • Render the scene normally using the depth-information from the shadow-depth texture to determine whether or not a particular pixel is visible to the light or not (in shadow or not).

The Shadow Pass

Above, it sounds simple.  In practice, there are many caveats.  For starters, its absolutely critical to get the most of out of the “shadow-depth” texture in terms of resolution as possible.  Thus, when rendering the shadow pass, we want to contain the entire scene into the light’s view with the constraint that we show as much (are as zoomed in) as possible.  If we zoom in too little, we hurt the resolution of the shadow map.  If we zoom too much, we risk clipping the scene resulting in some shadows being lost.  Furthermore, we want to render this step with as simple of a shader as possible, to avoid unnecessary wasted computation on the GPU.

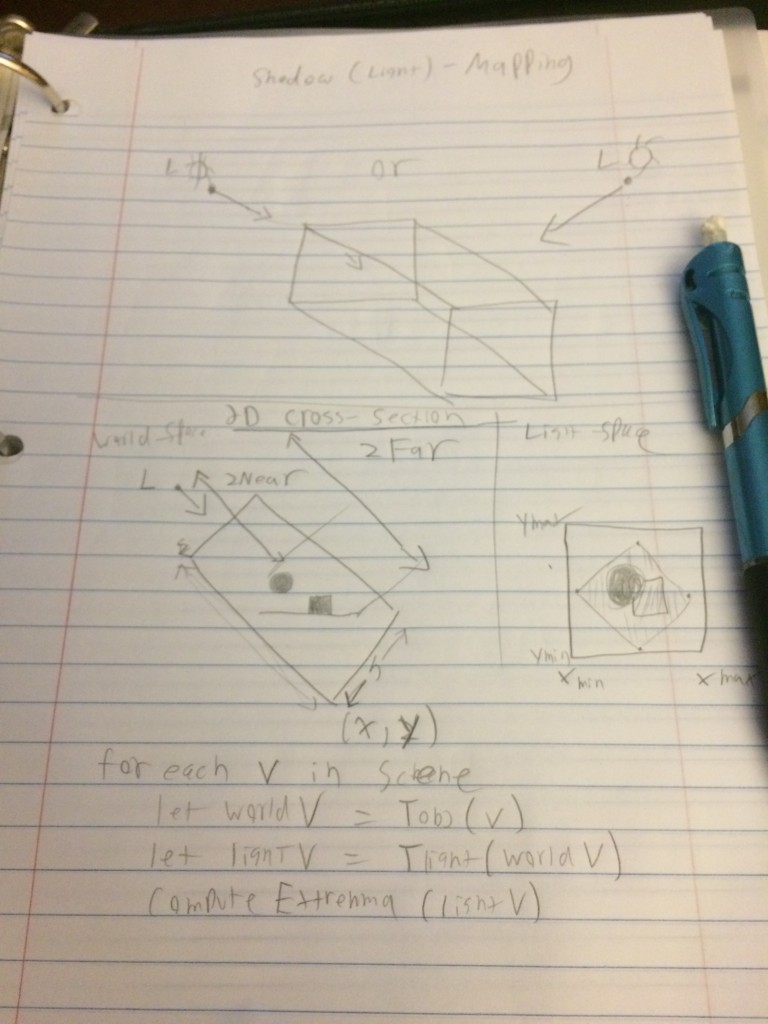
Going back to the optimal viewport containment (zooming) issue, this boils down to computing the optimal Ortho-box that the scene will be contained in.  We’ll use this box as the parameters to the ortho projection matrix given during the light/shadow rendering pass.  Optimally bounding the scene with this box presents a problem due to the fact that the box is in light-view-space coordinates, and all of our scene bounding boxes are in world-space.  Trying to work through this last night, I resorted to pencil and paper.

The algorithm essentially involves grabbing the light’s “viewing” transformation which consists of a simple lookAt transform and applying it to the 8 corner vertices of the world-space bounding box of the entire scene.  Once I have these coordinates in light-view-space, hopefully a computation of a new axis-aligned bounding box of these 8 points will be the ortho-box I’m looking for.  It turns out, that this worked quite well.

The actual code of this algorithm ended up looking more like this..


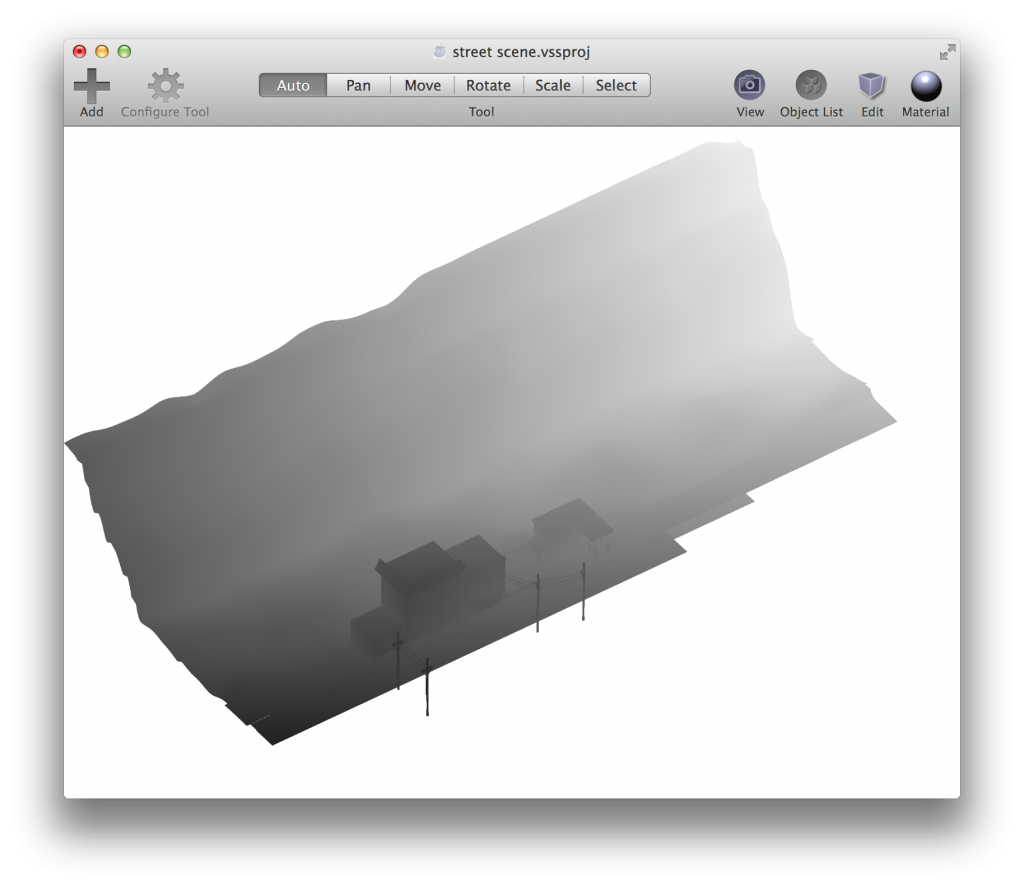
Below is a sample result of a shadow pass done using my cheap and simple bounding algorithm ran on our street scene (vantage of the light).  Note that this is stored into a depth-component texture attached to the depth-attachment of an offscreen FBO.

Goooood.

The Shadow-Application (main) Pass

During the main rendering pass, I needed to modify my shaders to include the application of the shadows from the light-map.  Alongside the light-map texture, I needed the a variant of the same “MVP” model-view-projection used to transform a world-space position into projected light-view-space coordinates.  This matrix is commonly referred to as a “bias shadow matrix” because its optimized to express the result in a normalized texture-coordinate form that GLSL texture routines are expecting.  In short, it simply applies the lighting-transform, divides the coordinates by 2 and then shifts them by 0.5.

Armed with the shadow matrix and the shadow map texture, I generate the needed shadow coordinate information in vertex shader.  I also compute a shadow bias to combat a well-known phenomenon known as “shadow acne” essentially caused by z-fighting from the shadowmap texture.   

Lastly, in the fragment shader, I sample the shadow texture to determine whether or not the shadow coordinate of the given fragment is visible or not to the light.  I can vary the visibility factor to be as dark or light as I want to achieve the desired effect.  Note that I’m using a shadow sampler here.  This special hardware sampler takes multiple samples of the shadow map for me and interpolates the results automatically to produce a smoother shadow edge.

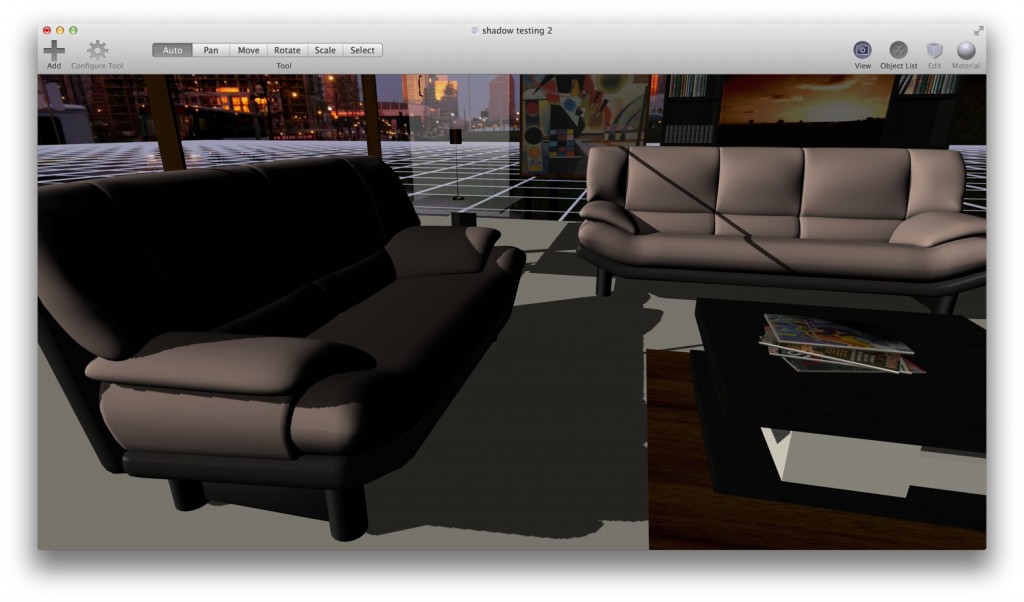
The results of all of this craziness is something quite nice.  Shadows casted in my scene that can lie across curved surfaces.  This was quite a bit of work but I think it’ll be quite worth it since now my graphics engine is shadow-capable.  Down the road I’d like to add point-light shadow capability via rendering into shadow cubemaps and general shadow capability for Verto Studio, but for now, directional light shadows satisfies the needs of my game project.

More of texturing day

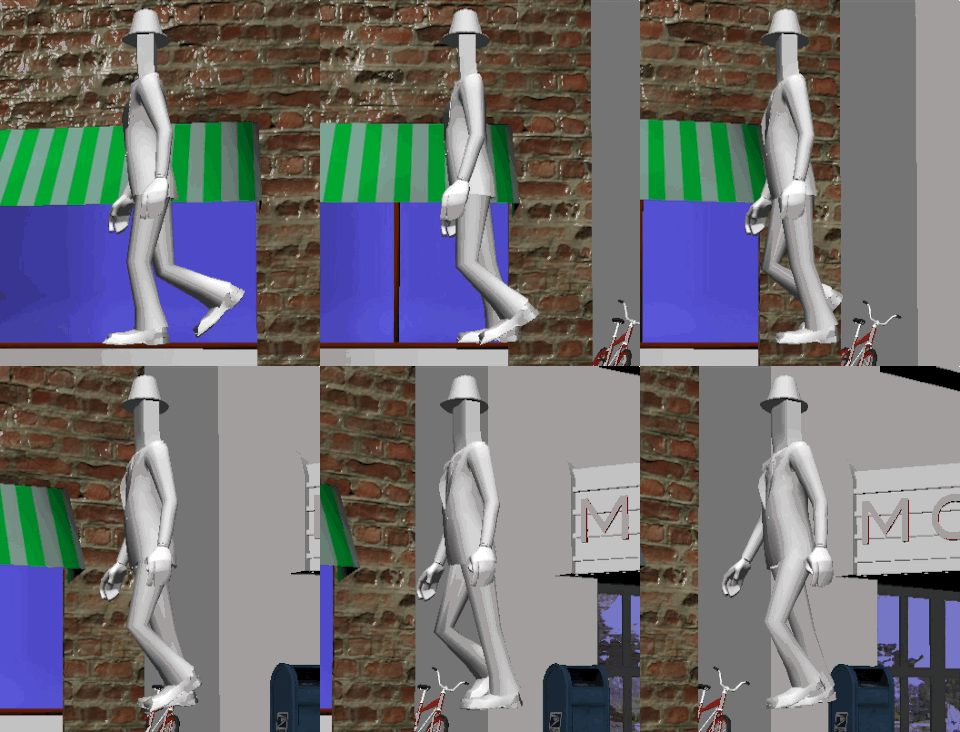
Yesterday I worked quite a bit with my character animator Tyler Hurdle to get the animations properly exported from his modeling software into my graphics engine.  After much wrestling, I got the simple walk cycle loaded in and it looks awesome.  

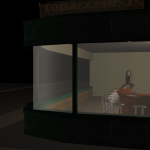
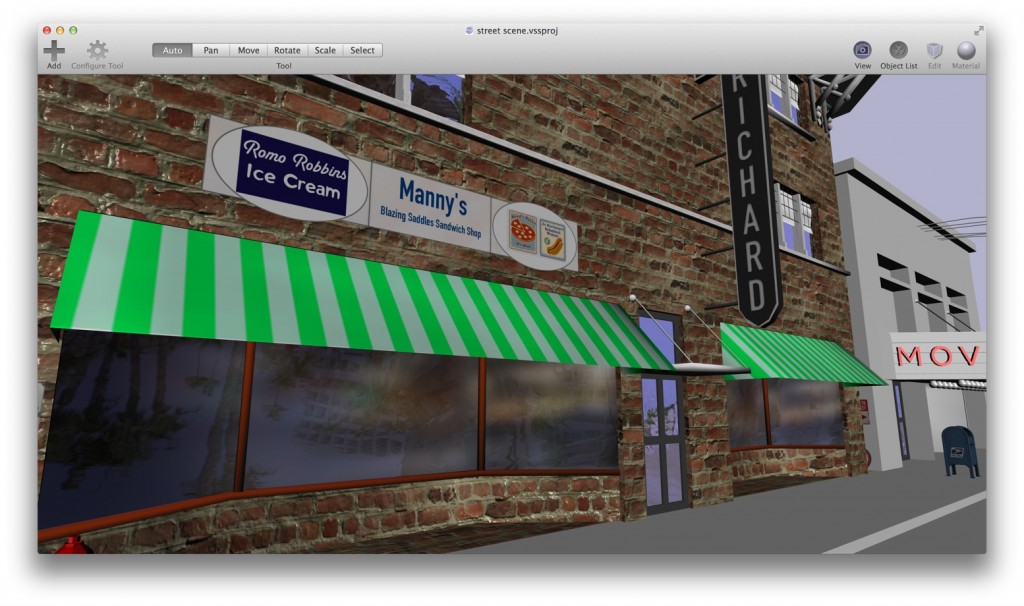
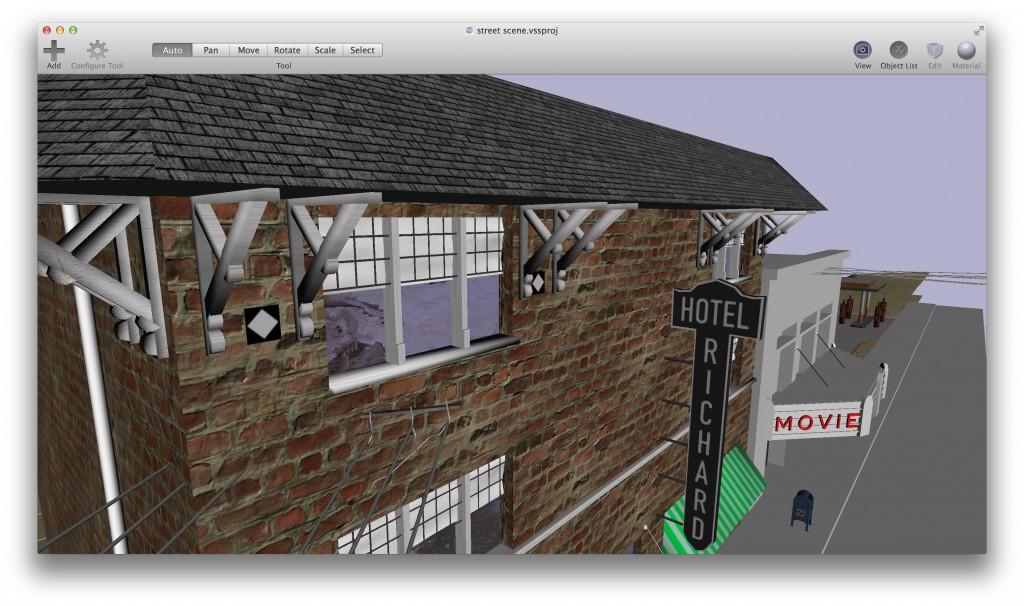
Things happened today.  Those things included me finishing up the texturing for the Hotel.  I must say, it’s really starting to look good. I can’t imagine how it’s going to look once I add in the final shadowing and post-processing effects.  I didn’t take as many intermediate screenshots as I should have this time. So I only really have the final results of where I am at the end of today.  Nothing too-far out of the ordinary happened during the last steps of the texturing of the hotel besides me modifying the basic window shader effects to include partial transparency. I did this so that I could “cheat” with the interior shops of the hotel, modeling the interior as a simple gaussian-blurred backdrop which is partially of obscured by the semitransparent window.

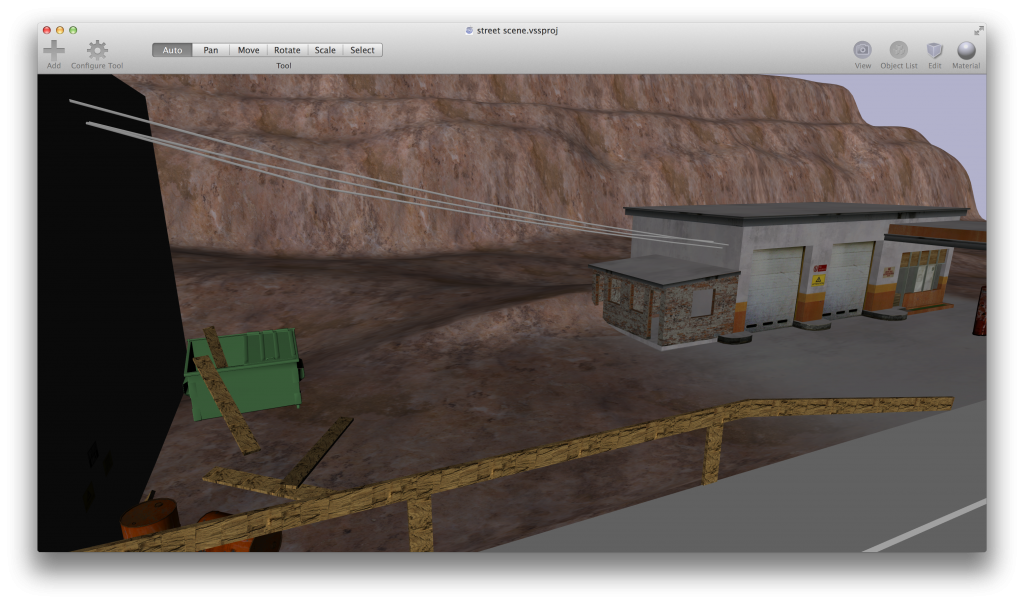
I also decided to get rid of the ugly default “sand” texture that I’ve been using for my background terrain.  I spiffied this up a bit with multitexturing effects using a detail texture which came out pretty awesome.

After all this, the frame rate performance within the editor and the game started to both get really bad.  So I had to stop modeling and dive into some optimization once again.  Using instruments within xcode, I uncovered some horrors related to the terrible performance of objective-c’s NSString methods (namely stringWithFormat) which forced me to eliminate their usage and some of the more critical sections of the rendering engine’s code.  That alone, gained me another ten frames per second back and started getting me to question the viability of Objective-C for hardcore game engine development.  I sure hope Swift’s string methods are faster than Objective-C’s.

Continuing with optimization, I put off the long-needed step of sorting scene entities first by transparency, and then by material.  This helped me avoid unnecessary state changes which propagate to the shader and harm performance.  I also hard-coded a backface culling test which showed that I really need a per-model “cull backfaces” option within the editor.  All of this optimization added up quite a bit to bring my performance back up to a reasonable level.

All of this work today uncovered quite a few new bugs in the editor itself, so tomorrow will likely be spent fixing those…

The insanity that is OpenGL Occlusion Queries

Intro

So this morning is the first morning that I am working without a day job.  I must say its liberating…. but enough about that crap!  It’s time to get to work!

This morning was a programming morning.  The considerable performance drop of my scene during my modeling efforts led me to investigate methods for improving my scene’s rendering performance, both in the editor and in the game itself (since they both use the exact same rendering engine).  Back in the day, I used to laboriously accomplish this using frustum culling.  Frustum culling is a technique that uses a spatial data structure, an octree, to categorize the mesh objects in a scene into cubic regions, and then mathematically detect whether or not those regions are in the viewing volume (frustum) currently visible in the scene.  This technique works okay, but it’s a pain in the ass to implement and I’d rather not if I don’t absolutely need to.  Furthermore, it doesn’t handle the situation of occlusion, when a very large 3D object is in front of a smaller one, eclipsing it, making it entirely invisible and useless to render since it’ll fail the z-buffer test.

Thus, enters “occlusion queries”.  A very cool OpenGL technique which allows you query exactly how much of a 3D object was truly rendered, and decide whether or not to keep rendering it in the future.  This is exactly what I needed.  It all sounds great in theory, now let me tell you about some of the issues I had implementing it.  I’ll try to avoid some of the ugly Objective-C syntax that surrounds this code in my actual system in my snippets.

Technique Overview

So in practice, occlusion culling is quite simple.  There are basically 3 steps.

First, you must render the scene using very simple solid bounding-box geometry.  ie, for each discrete mesh object within your scene, you render a giant solid box that entirely bounds that object. You only render this box with a very simple flat-color shader which will keep your query render very fast.  You don’t actually want these boxes to appear in your scene, so you do this step with color buffer writes and depth buffer writes turned off (masks set to FALSE).

Next, you query the results of the above for each box rendered and determine which models were visible (not occluded).  You make a note of the ones that were.

Finally, you render the scene normally, with the extra check to ensure that you don’t render the model objects that were not visible.

Setup

So the first thing I needed was a single occlusion query per mesh object in my scene.  In OpenGL, these (like many things in GL) are GLuint ids.  I dropped these into my entity mesh class

Then, in the model init and dealloc code, I generate the query objects as needed.

I then set up a special method that renders the solid bounding box geometry used during the occlusion query.  Now here’s where things get tricky.  There’s a way to do occlusion queries wrong (which I found out the hard way).  So much so that the performance benefit that they offer is entirely negated by the pipeline stalling that you can inadvertently cause.  Note the check against the EntityMeshOcclusionWaiting state.  This will be explained in the next section.


Scene Rendering

To kick this off, I added a new special method to my Scene class called renderOcclusionQueries.  I then inserted a call to this method in my scene’s main render method like so.  Note the usage of glColorMask and glDepthMask to ensure the query bounding boxes don’t actually render to the screen.

With the queries properly set up, I can now use them during my main rendering pass of all the entities to ensure I only draw whats necessary.  Again, this was tricky.  I had to absolutely make sure I never stall the pipeline.  No matter what.  This means I don’t retrieve a query result unless GL_QUERY_RESULT_AVAILABLE is true.  If it isn’t, I leave the query in the “waiting” state.  I also don’t start a new query when it’s in the waiting state (note the check against this in the above entity renderOcclusionQuery method).  This essentially means that the occlusion queries are entirely asynchronous with respect to the main rendering.  

That’s pretty much all there is to it.

Considerations

Now aint nothin in this world fo free.  So there’s some things I should mention.  First, if I wasn’t also targeting iOS mobile, I would have probably used the OpenGL conditional rendering method which essentially does alot of the above checking for me automatically.  I noodled around with this and couldn’t get equivalently good performance so I just moved onto the manual way.  I also don’t like how I still have to submit all the expensive drawing “and non” drawing calls with conditional rendering and essentially trust the driver to do whats best.  My method ensures NOTHING is ran if the object isn’t visible.  With the downside being initiating readbacks from the OpenGL device back to the CPU.  However, I’m getting very decent performance with this so I’m happy.

Also, because the queries are truly async, I can get myself into trouble when running this code on very slow or buggy graphics cards (ahem.. intel..ahem).  The problem being, if the query takes too long, you may look at a space where an object should be, and not see it for a few frames while waiting for the query to catch up.  This finally explains to me why when playing some games on my wii u (such as call of duty), I sometimes turn real fast, and see an object suddenly appear a few frames late.